
Instant Pot Boiling Start Yogurt (Thick Yogurt)
Boiling Start Yogurt is thick and creamy, and can be strained (removing the whey) to become Greek Yogurt.
Two MUST KNOW’s before you begin:
Milk —- just about any cows milk will work. It is not necessary to purchase any different brand or quality than what you usually drink. Of note, the fat content impacts the final flavor:
Whole milk: sweet, creamy flavor with enough tanginess to be yogurt
2% or Skim milk: sharp flavor with aftertaste that can be a bit sour
Yogurt —- you’ll want Plain or Unflavored with live cultures:
ALL yogurt have live cultures - even the inexpensive brands
Once you’ve made yogurt, you can use a few teaspoons of your homemade yogurt to provide the live cultures for your next batch. The extra whey will also provide the live cultures needed and can be substituted 1:1.
This is a step-by-step recipe to make Instant Pot Boiling Start Yogurt, assuming the Instant Pot has a pre-programmed option for yogurt.
My favorite way to make this yogurt is overnight, since it typically cooks for 8-9 hours in the Instant Pot.
Instant Pot Boiling Start Yogurt (Thick Yogurt)
Clean and sterilize inner pot if needed.
To the inner pot of the Instant Pot, add:
1 qt (32 oz) milk
Select "Yogurt"
Press the "Adjust" button once, display should read “boil”
Instant Pot will automatically start and begin heating the milk.
Cover with a glass lid or tinfoil:
No official glass lid? Check your cookware collection for one that fits the inner pot
Recommended - do not use the pressure lid:
yogurt doesn’t require pressurization and
the sealing ring retains aroma that may affect the final flavor of yogurt
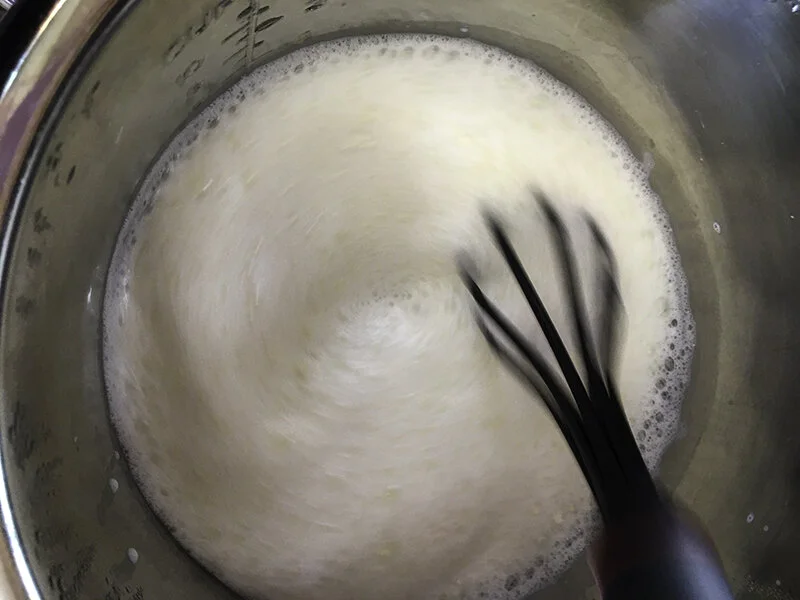
About every 5 minutes, remove cover and whisk, stirring all along the bottom of the pot.
When machine beeps, remove cover, stir and check temperature using an instant read thermometer.
Desired temp: 180F to 183F
If machine stops before milk reaches desired temp, use "Sauté" setting to keep heating, stirring & checking temp regularly.
Once desired temperature is reached:
Fill sink (or large diameter pot) with a few inches of cold water
Transfer inner pot to sink (do not allow any water into hot milk)
Cool milk to optimal yogurt percolating temperature:
Between 95F to 110F
Return inner pot to Instant Pot and whisk in:
1 1/2 tsp yogurt with live cultures
Cover with the glass lid (or tinfoil).
Select “Yogurt” (note: may need to press “cancel” once or twice before selecting “Yogurt”):
Display will read "8:00," adjust time if desired*
Instant Pot will automatically start and begin counting up from 0:00.
When it reaches the total time, 8 hours later, display will read: yogt
Transfer yogurt to a one quart container and refrigerate. Yogurt will thicken slightly and expect to see some natural separation of the whey.
Serve cooled with favorite fruits or granola. Sweeten with honey or sugar as needed.
Brenda’s tips:
Serving size: ~1 qt or six 2/3 cup servings.
Boiling Start Yogurt tends to be a thicker consistency than Cold Start.
Boiling denatures the proteins, improving their ability to bond = thicker yogurt
Boiling start also shows a natural separation of the yogurt & the whey (yellowish liquid). For even thicker yogurt (Greek style) strain boiling start yogurt through butter muslin.
See Window to B’s kitchen below for more…
*Looking for a more tangy yogurt flavor? Add more time to the Instant Pot. The flavor will naturally occur by increasing the time to 9:00 hours. This step is recommended by many yogurt blog posts
A few recommended resources if you want to understand yogurt better:
Window to B’s kitchen…


The difference in consistency between Cold Start (left) and Boiling Start (right) Yogurt.


